AppSuite:Connector for WHMCS Installation Guide: Difference between revisions
| Line 47: | Line 47: | ||
= Download of OX Connector for WHMCS = | = Download of OX Connector for WHMCS = | ||
To download the OX Connector for WHMCS installation packages follow this: [https://software.open-xchange.com/components/whmcs/ Download Connector for | To download the OX Connector for WHMCS installation packages follow this: [https://software.open-xchange.com/components/whmcs/ Download Connector for WHMCS (The LDB credentials have to be provided)]] | ||
= Installation = | = Installation = | ||
Revision as of 08:00, 10 September 2013
OX Connector for WHMCS
Description
Integration of OX App Suite with WHMCS/cPanel makes the deployment of OX App Suite simple for service providers and their customers. Web hosters can easily replace their existing webmail system on WHMCS/cPanel and provide customers a state-of-the-art, web based user interface with the benefits of a best in class, full-featured mobile web application – optimized for smartphones! The combination of OX App Suite, the provisioning of cPanel and the billing system WHMCS provides the perfect package for cPanel Hosting Provider and Reseller
Requirements
The OX Connector for WHMCS can be installed in any Linux platform that supports WHMCS. Version needs to be 5.2.5 or newer.
For WHMCS installation and licensing, please refer to:
In addition, you have to install the php-soap package. Run
$ php -m | grep soap
 soap
to test. It must print out at least one line containing the word soap.
If that PHP package is not installed, use the operating systems package manager to install it. Restart the web server afterwards.
Debian:
 $ apt-get install php-soap
 $ service apache2 restart
CentOS/RHEL:
 $ yum install php-soap
 $ service httpd restart
At least one cPanel server with OX plugin for cPanel, is needed for integration as well.
For information on how to install the OX cPanel plugin, please refer to Open-Xchange_cPanel_Installation
Mode of Operation
To be able to use the OX Connector for WHMCS, you will need at least one host with cPanel installed and properly configured to work with OX App Suite and Open-Xchange Hosting Edition and an additional server with WHMCS release 5.2.5 or newer.
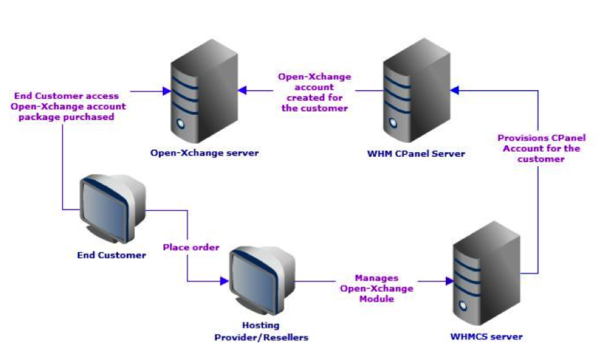
The OX Connector for WHMCS enables hosting companies and their resellers to add OX packages to their product offerings as well as billing and support. The following architectural diagram shows how the OX Connector for WHMCS interacts with other components:
Download of OX Connector for WHMCS
To download the OX Connector for WHMCS installation packages follow this: Download Connector for WHMCS (The LDB credentials have to be provided)]
Installation
Obtain the tar file from the link above and save it to a temporary location.
Open a terminal to login as the root user and find the WHMCS base directory within the apache document root (for Debian it is /var/www/whmcs, for CentOS and RHEL it is /var/www/html/wmcs/).
$ cd /var/www/html/whmcs
or
$ cd /var/www/whmcs
Go to the modules/addons subdirectory of the WHMCS base directory and create a directory called “openxchange.”
$ cd modules/addons
$ mkdir openxchange
Untar the contents of the OX WHMCS add-on archive.
$ cd openxchange
$ tar xof /path/to/open-xchange-whmcs-version.tar.gz
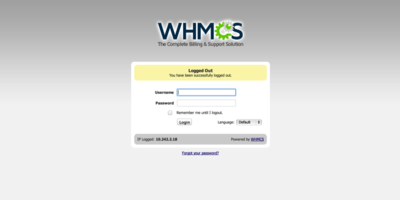 |
Now login to the WMCS console via http://whmcs.example.com/whmcs/admin |
 |
Once you login, go to Setup -> “Addon Modules” |
 |
After getting to the OX Connector for WHMCS within the list of modules, proceed to activate and configure the Connector by providing the OX App Suite URL and login credentials. |
Configuration of WHMCS
Launching WHMCS
 |
Login to the WMCS console via http://whmcs.example.com/whmcs/admin |
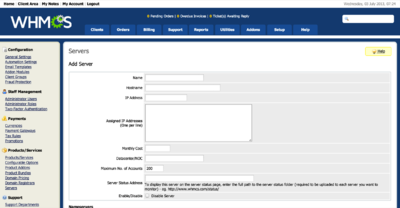
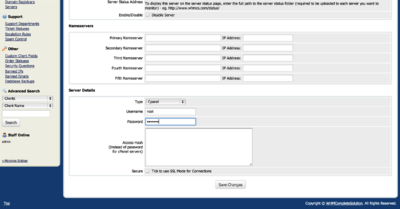
Setting Up cPanel server
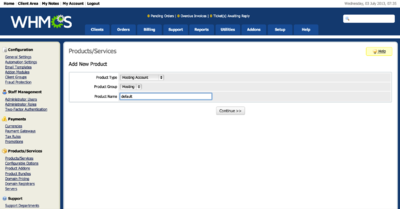
Setting Up WHMCS plans
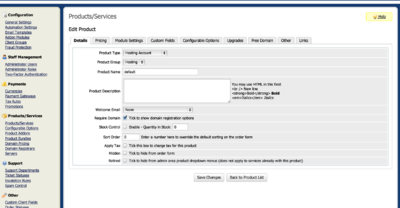
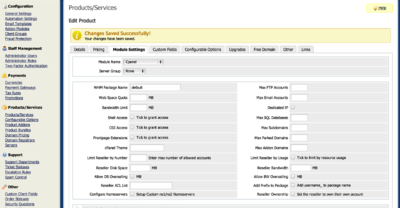
In order for WHMCS to integrate properly with cPanel, one needs to create the plans and packages to match cPanel. Each package which exist in cPanel must also exist in WHMCS.
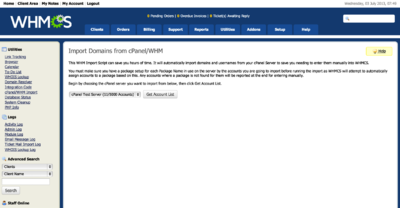
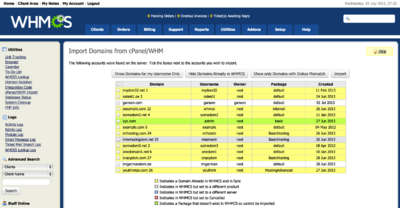
Importing cPanel accounts
Creating cPanel Clients
Configuration WHMCS Client
WHMCS Client Login
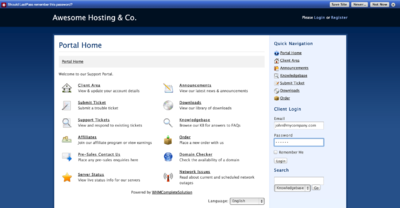 |
WHMCS clients may login to their accounts from http://whmcs.example.com/ |
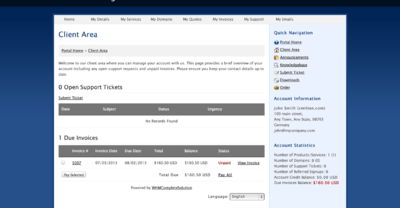 |
From there, they are able to see the plans they have bought as well as billing information, such as unpaid invoices. |
cPanel Account Login
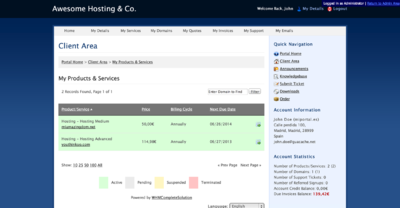 |
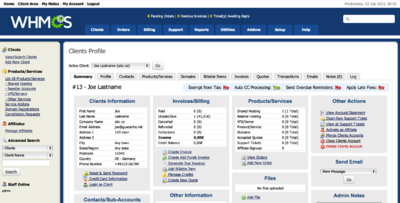
From the WHMCS Clients ⇒ View/Search Clients, choose a client and then go to the „Products/Services“ tab. |
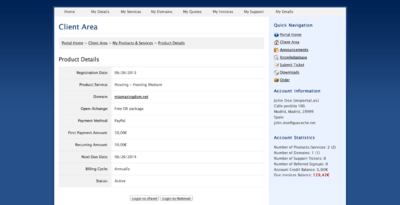 |
And, finally, click on the “Login to cPanel“ button. |
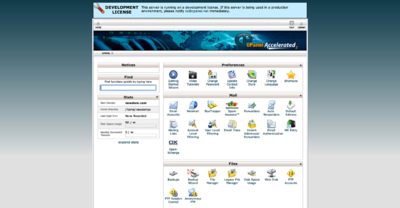 |
You may also go to http://cpanel.example.com:2083 and login with cPanel credentials for the user |
Additional Configurations
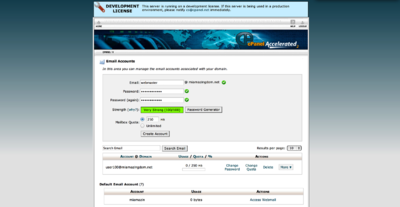
Creating Email Accounts from cPanel
Deleting WHMCS Clients
WHMCS Addon Options
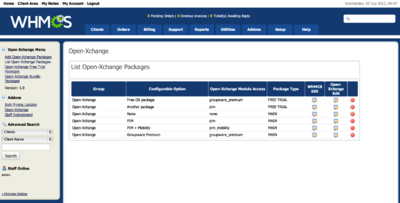 |
Go to „Addons“ -> Open-Xchange -> List Open-Xchange packages. From this screen one may add Open-Xchange specific packages, Open-Xchange package bundles and set pricing for Open-Xchange packages. |
Known issues
OX Connector for cPanel
- open-xchange icon not shown in cpanel in version 11.46.3
- new paper_lantern theme not supported
- Users with the same email localpart from different domains in a single cPanel account and a single context do not work because user names as well as display names must be unique
- cPanel account names cannot be renamed when using the ox integration
- Accessing the mail archiving does not automatically work in Open-Xchange webmail
- park/unpark domain does not work
